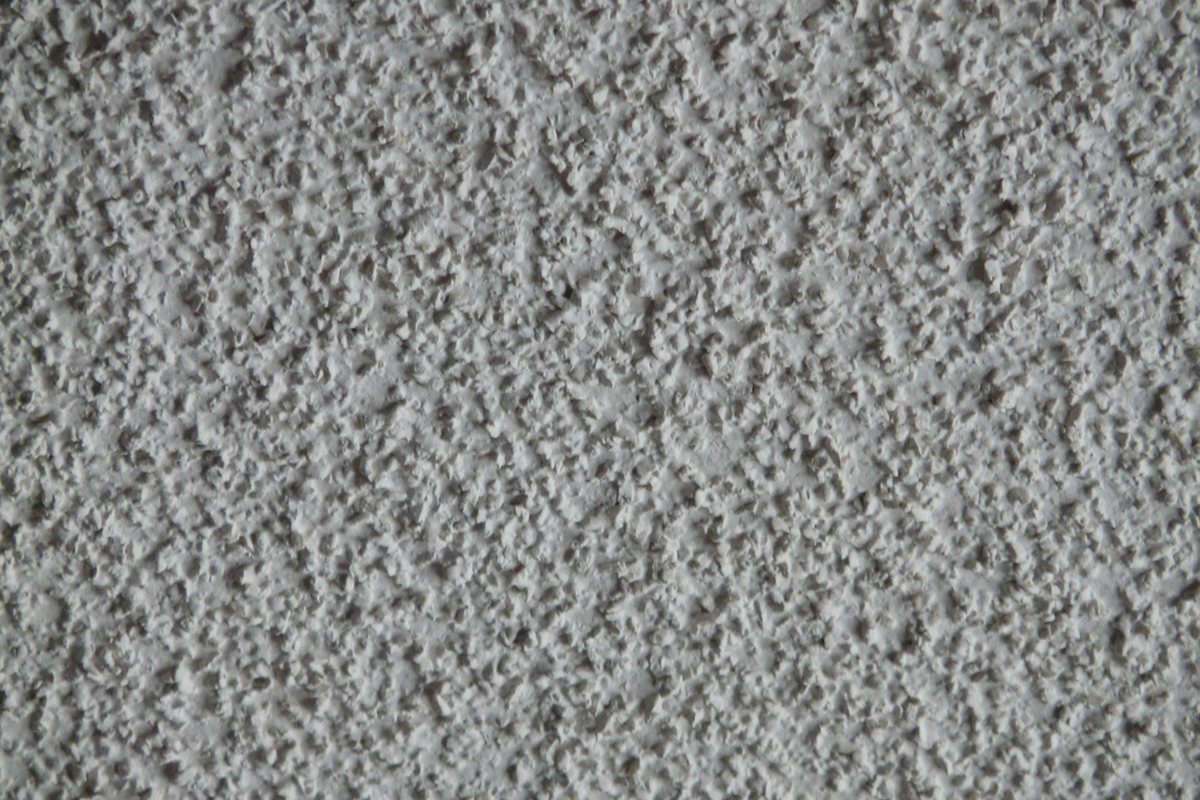
Popcorn ceilings date a room fast. They trap dust, they’re hard to patch and they make a renovated space look unfinished. Taking them down is one of the most noticeable upgrades you can make. In an older Ontario home, though, the first step isn’t a scraper. It’s a lab test.
Here’s why testing comes first, what the results mean, and how popcorn ceiling removal goes once you know what you’re working with.
Why popcorn ceilings raise the asbestos question
Asbestos was widely used in Canadian building materials until about 1990. That included textured and sprayed ceiling finishes. Health Canada notes that asbestos left undisturbed and sealed isn’t a significant health risk. The risk comes from disturbing it. Scraping, sanding or drilling can release fibres into the air, and breathing them in is linked to serious lung disease.
You can’t tell whether a ceiling contains asbestos by looking at it. Two ceilings that look the same can test differently. The only way to know is to have samples analyzed by a lab. If your home was built or renovated before 1990 and the ceiling has never been tested, assume it needs to be.
Step 1: sample and lab test
Health Canada recommends having a professional test before you renovate. In Ontario, the rules for asbestos on construction projects are set out in O. Reg. 278/05. They give a useful picture of what proper sampling looks like:
- Samples are taken from each area of the same material, and the number depends on the area’s size. At least 3 for under 90 m², 5 for 90 to 450 m², and 7 for 450 m² or more.
- Samples are analyzed by a lab using the recognized method (EPA/600/R-93/116).
- If even one sample from an area comes back positive, the whole area is treated as asbestos-containing.
A popcorn ceiling that was sprayed at different times can be different materials. A ceiling redone in the 1990s might sit beside an original one from the 1970s. That’s one reason sampling covers every distinct area, not just one room.

Step 2: read the result
Under O. Reg. 278/05, a material is asbestos-containing if it has 0.5% or more asbestos by dry weight. Your lab report will list each sample with a result.
If the result is positive
Don’t scrape, sand or drill. Health Canada recommends hiring a qualified asbestos removal specialist. Removal follows the procedures in the regulation, including containment, worker protection and proper disposal. Once abatement is complete and the area is cleared, the ceiling can be refinished.
Sometimes leaving it alone is reasonable too. If you’re not renovating that room and the ceiling is intact, an undisturbed, sealed ceiling is low risk. Many owners plan abatement for when a larger renovation opens up the space anyway.
If the result is negative
Keep your lab report with your home records. You’re ready for removal and refinishing.
Step 3: removal and refinishing
With a clear result in hand, popcorn ceiling removal is a finishing job, and the finish is what you’ll see every day. A good job looks like this:
- Protect the room. Furniture is moved out or wrapped, floors are covered, and the work area is sealed off from the rest of the house to contain dust.
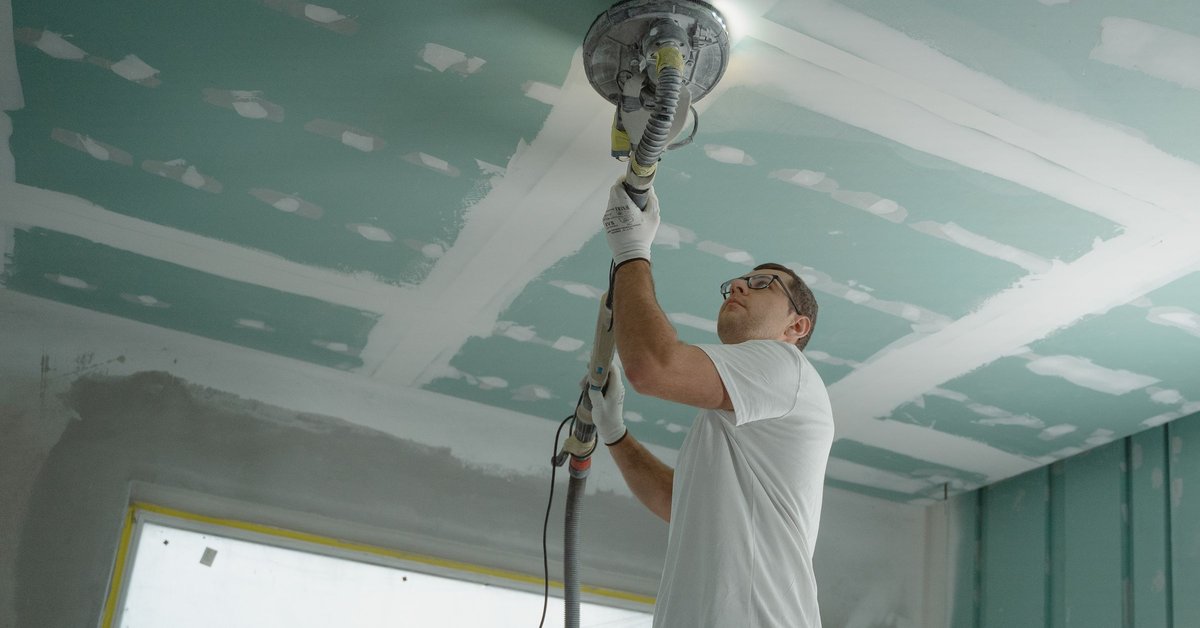
- Remove the texture. Loose texture is wetted and scraped. Painted texture often needs more work, and some ceilings are better skimmed or re-boarded than stripped.
- Repair and skim. Old ceilings hide tape seams, nail pops and cracks. These get repaired and skim-coated to a smooth, flat surface.
- Prime and paint. A proper primer evens out the porosity of new compound and old board so the paint finishes uniformly.
- Clean up. The room is returned to you clean, ready for furniture.
Plan for drying time between coats. A ceiling is rarely a one-day job. Pot lights, a new fixture layout or crown moulding are easiest to add while the ceiling is open.
Thinking of doing it yourself?
If the ceiling has tested negative, removal is doable for a patient DIYer. The skim coat is where most DIY jobs show. Under raking light from a window, every ridge and dip is visible. If the ceiling hasn’t been tested, don’t start. Testing is the inexpensive part of the job.
How we handle popcorn ceilings
We’re clear about our role. Testing goes to an accredited lab, and if asbestos is found, abatement goes to a qualified abatement contractor. Our Interior crews do the part you live with: removing tested-safe texture, repairing, skimming, priming and painting to a smooth, flat finish. We protect your floors and furniture throughout, and every job comes with a written quote and warranty.
Ready for a smooth ceiling?
Tell us about the rooms, and whether you already have a lab result. We’ll take it from there. We serve the GTA, Simcoe County and Southern Georgian Bay.
This article is general information, not legal or health advice. Follow the instructions of your testing lab and abatement contractor.
Featured photo: Tima Miroshnichenko / Pexels.